Dustc0ver
Most tactile switches don’t handle dust all too well. Many x0xb0xes have faulty switches as a result of this. A first symptom is "double triggering" which is very annoying when programming patterns, as you always end up with wrong/duplicate data.
The TB-303 also has this problem. Although the factory switches are very fine quality ALPS SKHCAA switches, after 10 years of use they will most likely give issues.
A method applied in the past by both Robin Whittle and D’naab136 / Analogue Renaissance is using a sheet of plastic as a dustcover inside the 303. This will prolong the lifetime of the switches dramatically. Nowadays these methods are obsolete due to the existance of switches with a dust cover built into it. Installed respectively by the above are Omron B3W-4050 and ALPS SKQEAAA010. These switches are so good, they will most likely outlast the user.
A x0xb0x uses very similar switches, although the switch stems are slightly smaller (and so are the button caps). As a result, the button caps of the x0xb0x sadly don’t fit on these super switches. I’ve modified ALPS switches to fit, but it’s a lot of work. If it isn’t broken, don’t fix it, although I would recommend going through the trouble on a new build.
UPDATE: I found switch caps that are a perfect fit.. So you can now easily replace the switches.. I’ll leave the info below here for people who don’t want to replace their switches just yet..
If you want to prolong the life of the switches in your x0xb0x, you can install a dustcover yourself, it’s really easy and can be done in less than half an hour.
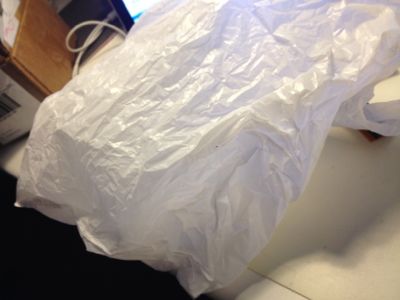
You need a plastic bag, any plastic bag will do, just make sure it’s a bit "stretchy".
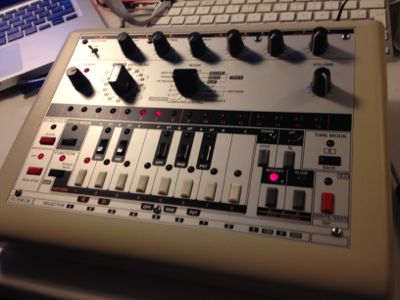
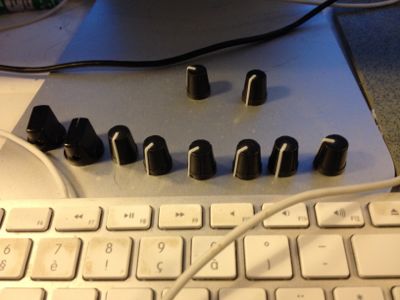
Next, remove all knobs from your x0x
Remove the 7 front panel screws (4 above, 3 bottom)
Then remove the front panel (Use a flat screwdriver if it doesn’t come off easily)
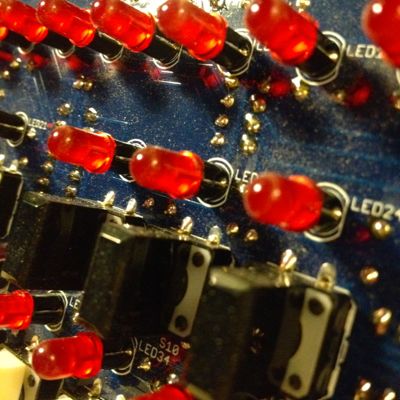
Look at all this dust inside:
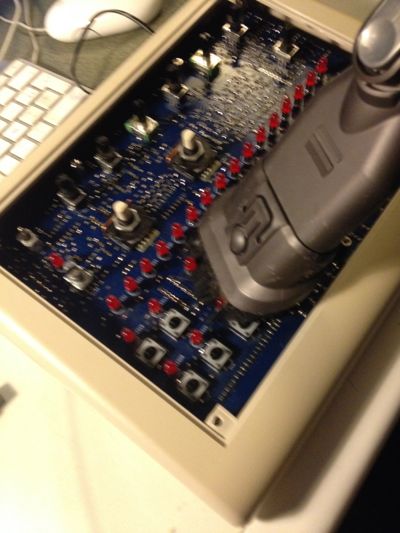
Take off all the switch caps (just pull them). Then vacuum the x0xb0x using a soft brush (EDIT: don’t vacuum it like I did, this can cause static electricity discharge and harm the chips in the x0x):
By now I realised it’s best to remove the top side of the x0x enclosure. You can leave it on but it’s easier without, so loosen the bottom 4 screws of the case if you want to take of the top side of the enclosure.
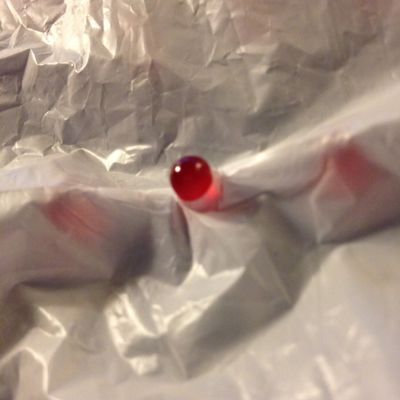
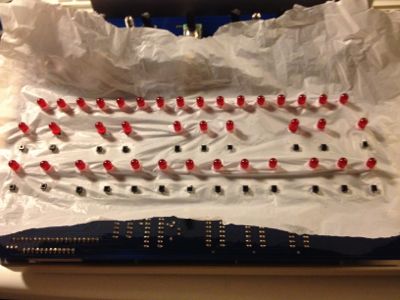
Cut out the plastic so it is big enough to overlay all bottom leds and switches. Make sure there’s at least 1 inch of "spare" plastic on all sides. Then lay it over the x0x. Make a tiny hole in it (use a really small screwdriver) and push a led through like this:
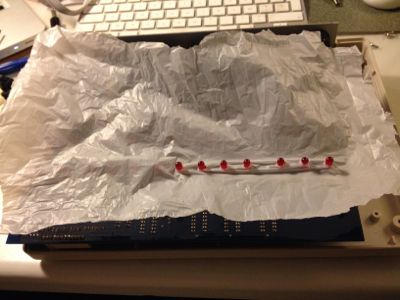
Then continue with the other leds:
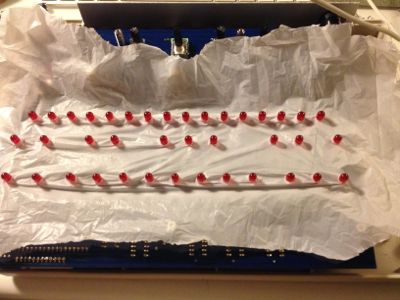
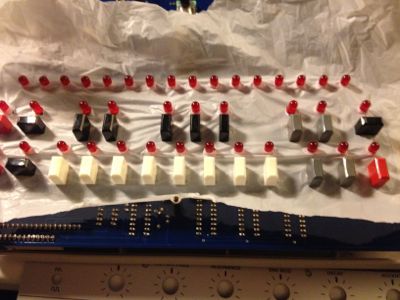
Next are the switches. Again, make a tiny hole and "drag" the plastic over the switch untill it pops out.
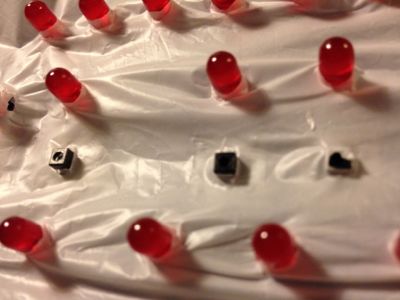
All done:
Replace the switch caps:
Tidy the plastic and replace top case:
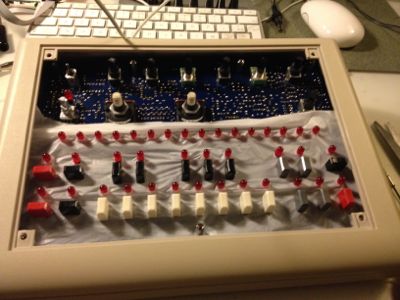
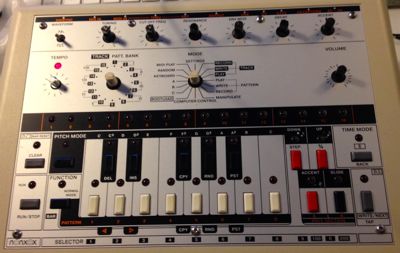
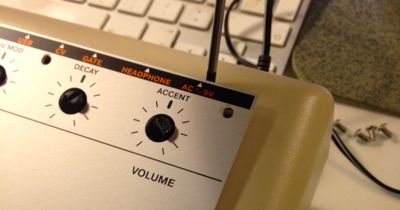
Put back the frontpanel and knobs, and tadaa, looks just like before, but will last many years longer: